The Nutella Heist Chocolate Roulade- Happy Summer Baking!!!

Not a glamour shot - but isn't a great thing to have a simple and delicious dessert ready and waiting?

Not a glamour shot - but isn't a great thing to have a simple and delicious dessert ready and waiting?

Hello Bakers,

 Did you know that last week, the Italian newspaper, Corriere della Serra reported that a truck full of Nutella was stolen in central Germany - roughly 6,875 large jars of Nutella - gone. Daniel, my husband from Milan, told me about it.  I quickly looked it up in English. The Guardian newspaper reported the heist as well. As of this writing the Nutella has not been found and the bandits are also still at large. 

Reading about the heist inspired this blog post and a recipe that is perfect for this time of year.

This was the size of the truck filled with 22,000 pounds of Nutella.

This was the size of the truck filled with 22,000 pounds of Nutella.

These are the dog days of August. It is not the best time of year to fire up the oven and heat up the kitchen.  The Nutella Heist cake features a roulade (rolled) cake that you can get in and out of the oven in under 45 minutes. It looks more labor intensive then it really is.  Rolling cakes can seem intimidating but once you do it a few times it is easy. 

I teach the rolling technique in my Craftsy class "25 Essential Baking Techniques" the  cake, in the video, is a vanilla scented sponge roll.

Here is an affilate link and a discount off that class if you are not already enrolled.

http://craftsy.me/2nu9Qun

This cake is a great technique builder and good practice. It can be made hours in advance and is sure to impress and delight your family and friends. The Nutella whipped cream is delicious and you can use it for other things - and it takes no time to whip cream. The cream and the Nutella are whipped together - just like the recipe for Tiramisu filling posted back in June.

Please try this delicious cake. Let me know if you have questions. Send photos - it would be great to get the "first post" contest back up and running.

See you next week with a back to school macaron recipe...

On a side note bakers, I am working on developing a podcast about baking. The podcast will be filled with baking history, science and tips. I will keep you posted on the podcast's progress.
Happy Baking!

Colette

The Nutella Heist Roulade Cake

Equipment:

Stand or handheld mixer

Whisk attachment

Spatula

Half sheet pan – lined with the bottom with parchment paper,

spread with softened butter or pan spread

Parchment paper

Ruler or better still a yard stick cut in half

Ingredients:

Chocolate Sponge  (Biscuit)

Chocolate Biscuit Mise en Place

Chocolate Biscuit Mise en Place

Oven 350 degrees

2.25 ounces (64g) egg yolks

4.5 ounces (128g) whole eggs

3.75 ounces (106g) sugar

1 teaspoon vanilla extract or vanilla bean paste

3 ounces (85g) egg whites

1 ½  ounces (43g) sugar

1 ½  ounces (43g) pastry or cake flour

1 ½  ounces (43g)Dutch process cocoa powder

(For later) 1-2 ounces (28g-57g) granulated sugar for unmolding the cake

1.     In a stand mixer with a whisk attachment, ribbon the yolks, whole eggs,sugar and vanilla           extract until it holds a three second ribbon. It should be thick and pale yellow.

2.    Scrape the ribboned egg mixture into a medium sized bowl if you do not have an extra mixer bowl. Wash and dry your bowl and whisk.

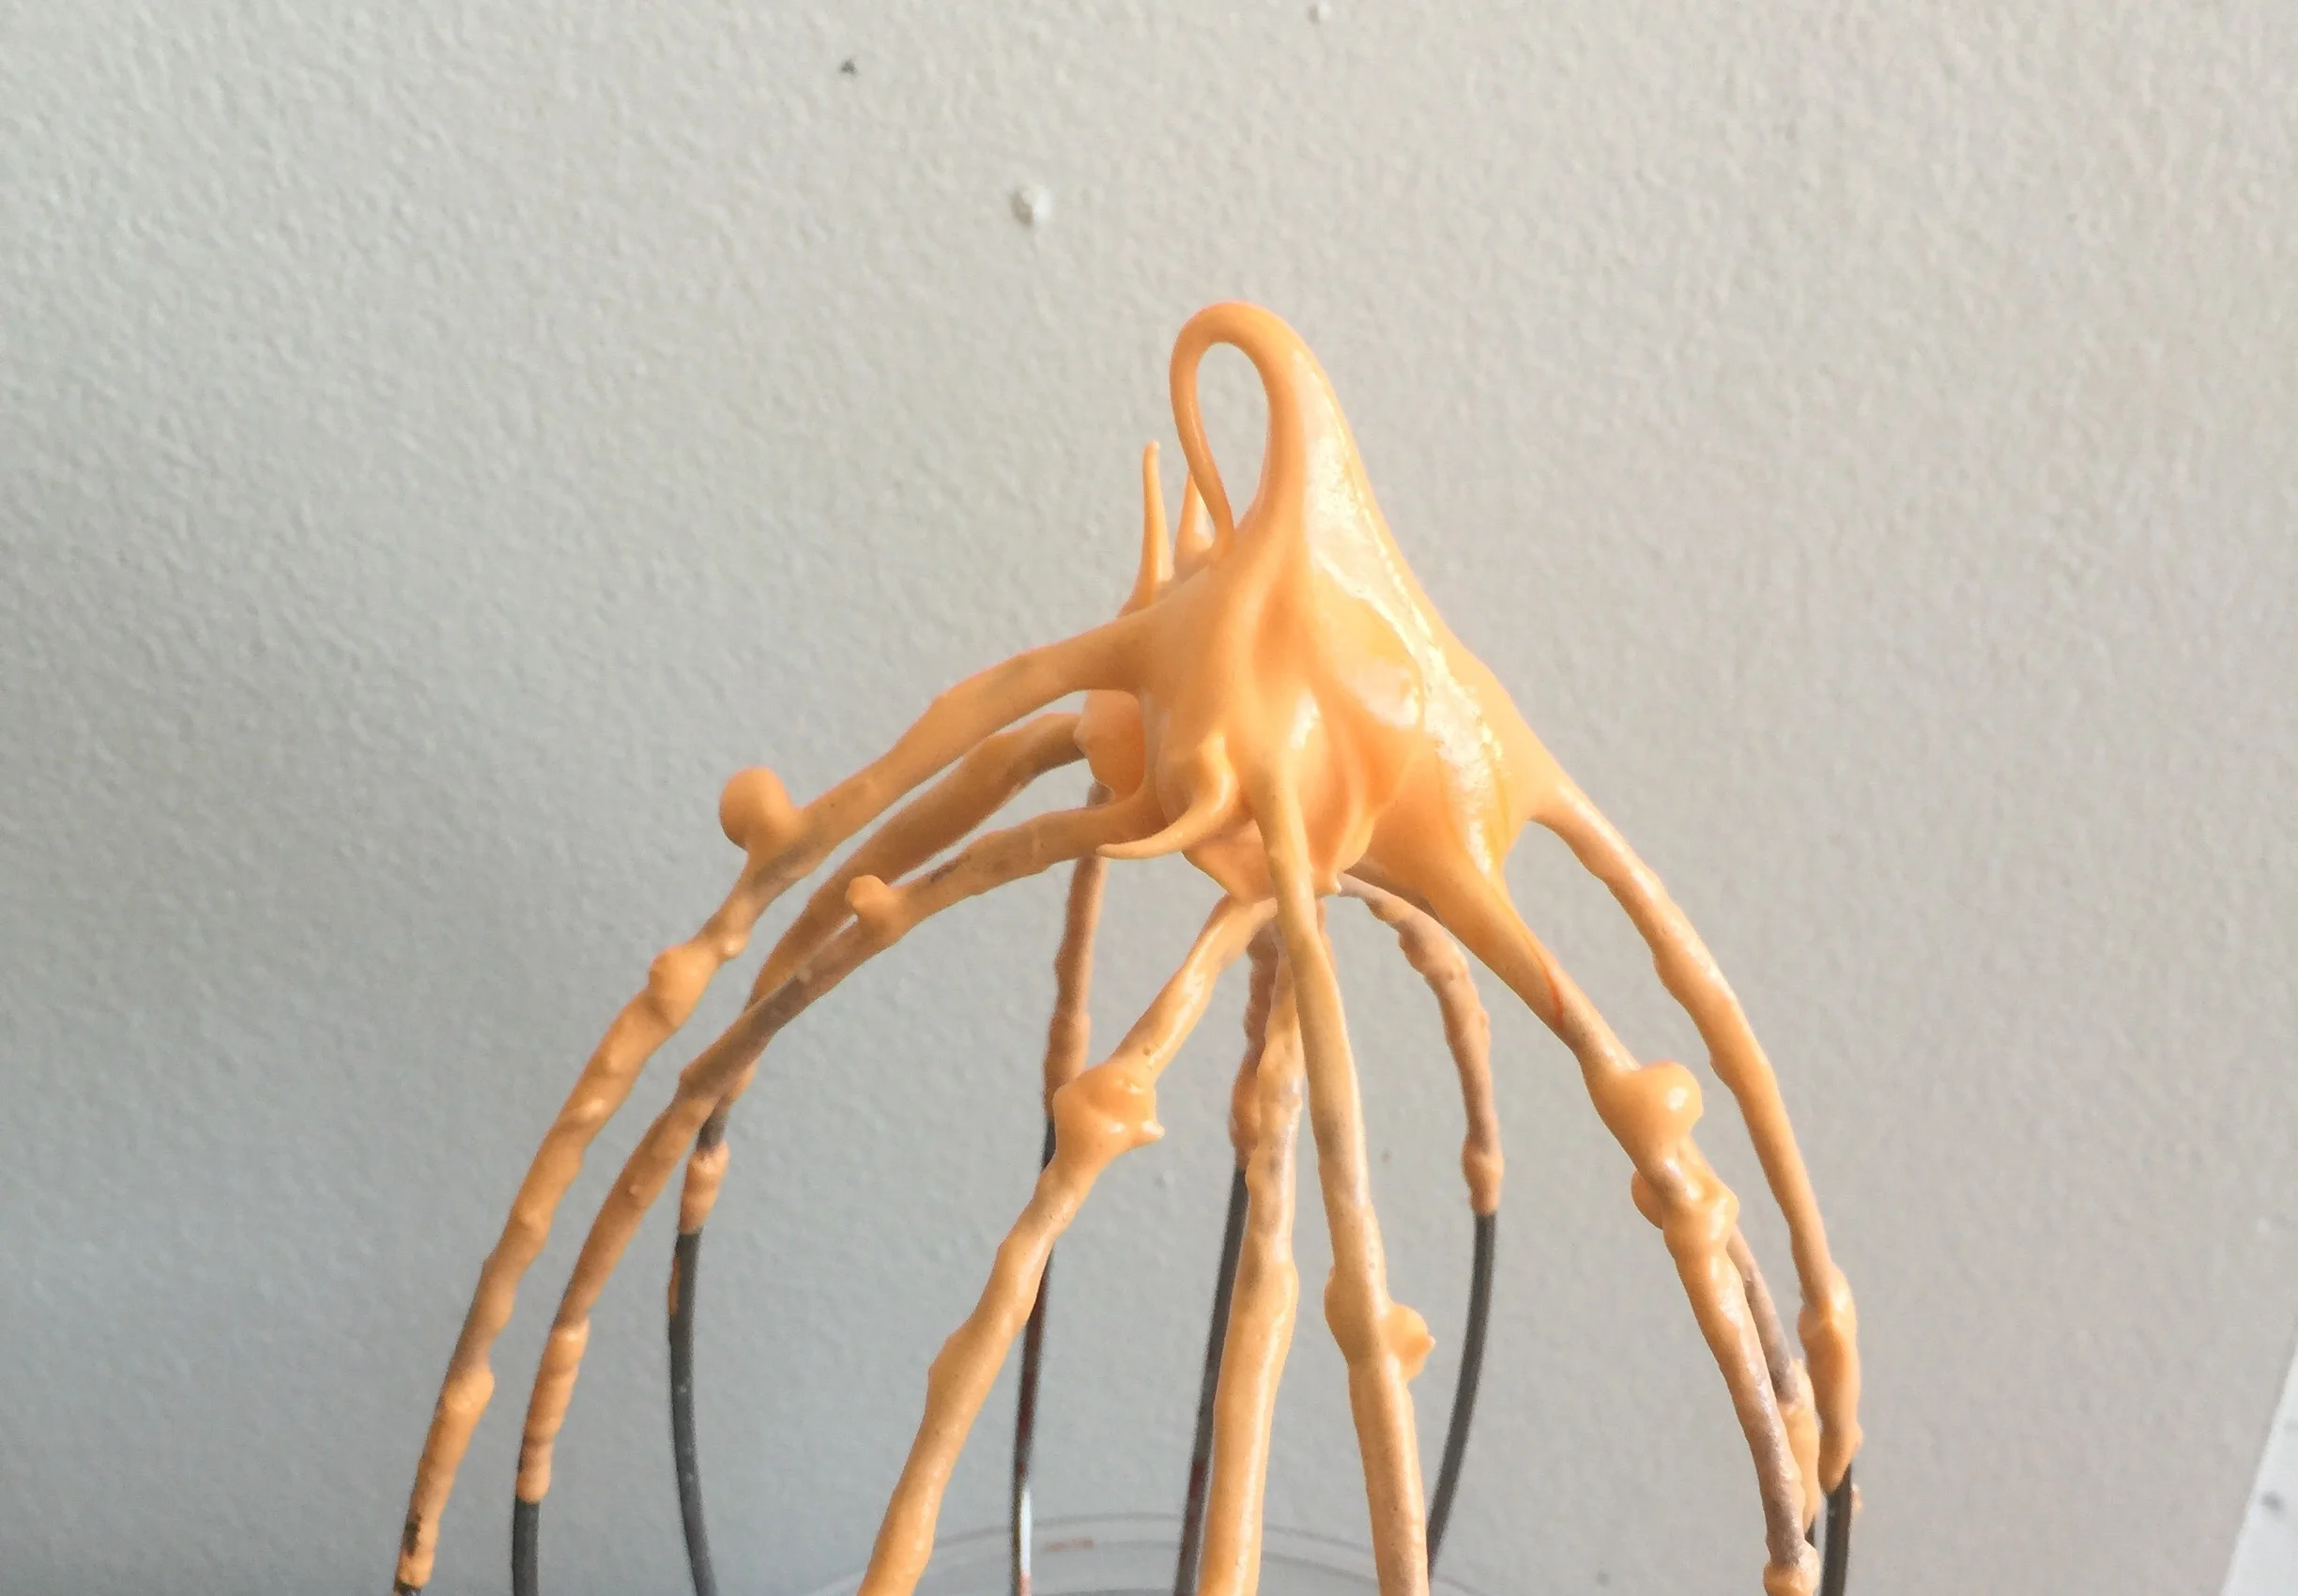
3.    In a stand mixer with a whisk attachment whip egg whites on medium speed until foamy, like cappuccino foam add sugar and whip until it forms a medium peak.

Soft peaks for cake - 10:00 angle

Soft peaks for cake - 10:00 angle

    4.   Sift cocoa and flour together 3x.

    5.   Add 1/3rd of the egg whites to the ribboned egg yolks, add the rest and mix lightly until just a few streaks are visible.

     6.     Sift the cocoa and flour the egg mixture, in three increments.

    5. Scrape every bit of batter into the prepared pan. Spread to the edges and then smooth the surface with an offset spatula. Clean the rim of the pan with your thumb.

Bake for 12-14 minutes. Cake is done when it springs back lightly in the center.

Cool in the pan for 10 minutes.

Baked cake

Baked cake

Make Filling:

Equipment:

Stand or handheld mixer fitted with whisk attachments or standard beaters

Ingredients:

12 ounces Heavy Cream

1/4 cup Nutella - measured in a volume 1/4 cup 

1. Combine the heavy cream and nutella in mixer bowl.

2. Whip on medium high speed until mixture begins to thicken. Scrape down and continue to whip until it looks like this. Stay with it as the filling can over whip and break quickly.

It looks very soft but it will thicken as you fill and ice the cake.

It looks very soft but it will thicken as you fill and ice the cake.

To unmold cake:

Tape two 1/2 sheets of parchment paper together and then turn the paper over or if you have a large sheet of parchment - use that. Dust the granulated sugar on top of the cake.

Sugar on top means it will not stick to the parchment paper.

Sugar on top means it will not stick to the parchment paper.

Sprinkle more of the cocoa mixture on top of chocolate layer in pan. Invert layer on cocoa dusted parchment paper. Remove parchment paper from cake and then immediately place clean side down on the cake - this will help you roll the cake.

Spoon cream  evenly onto layer, leaving a ½” border on the top long edge. 

Leave a 1/2: border on the long top edge and no need to over fill.

Leave a 1/2: border on the long top edge and no need to over fill.

 Roll lengthwise, enclosing cream by lifting parchment paper gently. Layer may crack so adjust as necessary to keep rolled (not flattened) shape. Trim ends to make neat by cutting diagonally.

Partially rolled roulade

Partially rolled roulade

Using parchment paper to lift and manipulate roll, turn roll seam-side down onto serving board or platter. Place 2" strips of parchment paper under the cake. Ice the top and sides of the cake. Remove paper strips carefully

 Refrigerate until ready to serve.

 As I said in my caption this cake can be assembled early in the day or the night before. 


Great American Baking Show Casting NOW!!!!!

Hello Bakers,

This is your chance to be in the tent with Mary Berry and Johnny luzzini! This is a great adventure in the making. The show is my favorites along with the British version.

i know you can do it bakers - please give it try.  

 Email Amy who is one of the casting directors on the show. Here is her email: akyerrington@yahoo.com.

Email me if you have baking questions or need a baking pep talk to fill out the application. 

I might just stowaway and come too - I could always do dishes!

The casting dates has been extended. 

Happy Baking and Competing!

Colette


Chocolate Macarons filled with Raspberry Ganache and Fresh Raspberries - Happy Mother's Day!

Hello Bakers,

I am so sorry that so much time has passed since my last post. I spent the month of April practicing for my CMB or Certified Master Baker exam. I am relieved to report that I came out of the two day 16 hour baking practical

 alive and with only one retake. Not bad. I will retest that item in Chicago in August.

I learned so much training and taking this certification, which will make me a better instructor and resource for your - my bakers.

This post is all about Chocolate Macarons. I paired them with a raspberry ganache and fresh raspberries. 

Chocolate Macarons with Raspberry Ganache and Fresh Raspberries

Chocolate Macarons with Raspberry Ganache and Fresh Raspberries

You might remember my saying that my blog content would serve as skill building for my Craftsy classes. (Of course, you do not have to be a Craftsy student to make these recipes.) But if you are this post is building on techniques taught in this class:

There are almost 10,000 students in this class and their work is amazing!!!!! Here is a promo code if you would like to enroll. http://craftsy.me/2qar6tN

There are almost 10,000 students in this class and their work is amazing!!!!! Here is a promo code if you would like to enroll. http://craftsy.me/2qar6tN

Chocolate macarons can be a little tricky. Cocoa is a drying agent. It dries out all the other ingredients - so we have to compensate by changing the ratios of the other ingredients. There is a bit more sugar in this recipe to add moisture.

These are delicious - rich and almost brownie like. If that is possible for a macaron. Watch over baking them - they can over bake quickly in the last few minutes.

I paired them with a raspberry ganache which should be made the day ahead. These would make a great Mother's Day gift and for my macaron bakers - you have to add this to your repertoire.

These is a contest with this post too. Whoever bakes and posts a photo of the finished macarons and raspberry ganache wins this dish towel. Only one winner per year, just to be fair.

macaron dishtowel.jpg

I know how competitive you are bakers. :)

Happy Baking!

Colette

Chocolate Macarons

.Yield: 17-18 filled macarons

Equipment:

Stand or Hand held mixer

Large bowl

Flat rubber spatula

Food processor

Piping bag

#12 Wilton tip or Ateco #803 or any plain round tip with a 3/8” diameter opening

Eye dropper – optional but good for adding color and flavor

2 half sheet trays lined with parchment paper

2 Half baking trays lined with parchment or Silpats.

Macaron Templates (optional)***please email me at BakingwithColette@gmail.com and I will send them to you.

Ingredients:

109g powdered sugar

98g ounces almond meal

15g Dutch process cocoa

90g ounces egg whites

1/8 teaspoon cream of tartar

75g ounces granulated sugar

½ teaspoon vanilla or chocolate extract

Brown gel color - optional

Chocolate Macaron Mise en place

Chocolate Macaron Mise en place

Preheat oven to 325 degrees (conventional) 300 degrees (convection).

1.    Layer the powdered sugar, almond meal and cocoa in a food processor or mini-prep fitted with a metal blade.

file-10.jpeg


2.   Pulse the powdered sugar and the almond meal in a food processor until

     the mixture looks like fine meal. This takes about 15 seconds or 8 pulses.    

Powdered sugar, almond meal and cocoa

Powdered sugar, almond meal and cocoa

1.   Using a stand or hand held mixer, whip the egg whites with the cream of tartar on medium speed until they look frothy and no egg white liquid remains. They will still have a yellowish cast and no structure.

2.   With the mixer running, add the granulated sugar slowly. Once the sugar is added turn the mixer on to medium high speed.

3.   Continue to whip until the meringue is soft and shiny. At this stage it resembles “marshmallow fluff” or “shaving cream” and does not form a peak.

4.   Stop the mixer and add color if desired and extract. Put the color on the bottom of the whisk or beater attachments.

5.    Turn the mixer to high speed, whip the egg whites until the mixture begins to look dull and the lines of the whisk are visible on the surface of the meringue.

6.    Now check for peak. The peak should be firm with the angle supporting the peak at 11:30. (see photo) Transfer to a medium sized bowl.

7.    Fold in the almond meal, powdered sugar and cocoa in three increments.

8.    Paint the mixture halfway up the side of the bowl, using the flat side of your spatula. Then scrape the mixture down to the center of the bowl.

9.    Repeat 2-3 times then check to see if the mixture slides slowly down the side of the bowl.

10. Pipe on parchment or Silpat lined baking sheets.

11. Slam the tray, hard, 4-6 times on the counter. Then fist bump each side of the tray twice. (see photo)

12. Let dry until they look dull but not overly dry.  **Drying time varies on humidity.

     In a dry climate the macarons can dry in 15-20 minutes and in a humid climate it can take 35-40 minutes. But never dry them for more than an hour.

13. While the macarons are drying, preheat the oven to 325 degrees, 170 Celsius, Gas Mark 3

14. Place on the middle rack of the oven.

15. Check in 11 minutes.

16. If their tops slide then bake for 2 -3 more minutes. They should release from the parchment or Silpat without sticking. Check one or two. If they stick put them back in the oven for 1-2 more minutes.

17. Let them cool for a few minutes before removing from the Silpat or parchment paper.

Raspberry Ganache

Yield: 454g (1 pound of ganache)

Prep time: 15 minutes

Total time: 15 minutes – must chill or sit overnight at room temperature to achieve proper consistency.

Equipment:

Large bowl

Fine mesh sieve

Saucepan

Heatproof bowl

Spatula

Digital thermometer

Ingredients

170-180g Raspberry puree ***DIY recipe follows

92g Granulated sugar

46g Light corn syrup or glucose

145g White chocolate, cut into small pieces

23g Butter, softened

1. Warm raspberry puree to 140 degrees.

2. In a small pan, preferably with tall sides caramelize the sugar, be careful as a small amount of sugar caramelizes quickly.

3. Remove caramel from heat and deglaze with corn syrup or glucose.

4. Add the caramel mixture to warm the raspberry puree. Stir with a heat proof spatula to combine – place over low heat and stir if the caramel has seized up. The heat will melt it back down and the mixture will become smooth.

Pour over chocolate and stir gently to melt.

Add butter and stir until smooth.

To use the same day, pour onto a small tray lined with plastic wrap or lightly buttered parchment paper, cover and chill for 2-3 hours so that the ganache sets up. The ganache can also be left, covered, at room temperature overnight.

Use the next day and refrigerate any leftovers.

***DIY Raspberry puree

1 12 ounce bag frozen raspberries

57g sugar

1 teaspoon lemon juice

1. Place the frozen raspberries in a fine mesh sieve and thaw over a large bowl.

When the berries are thawed, press down hard on them to extract as much juice as possible. All that should be left are the seeds and a little pulp.

2. Add sugar and lemon juice.

This should yield 170g – 180g of puree enough for the ganache recipe.